Using Emojis in a Point and Click Adventure - Part 1
This year I entered the js13kgames contest for the 6th time with a game called “The King’s Missing Page”. This article is part 1 in a series of blog posts that discuss some of the challenges I faced in creating this game.
For those who have seen my previous js13k entries, you will have seen that two of them are point and click graphic adventures. I also entered the inaugural gamedev.js jam earlier this year, with what was once again a point and click adventure.
Since I first heard of the js13kgames game jam back in 2013, I have wondered whether it would be possible to create a point and click adventure game that felt like a full and challenging game. Was 13k enough space to create something like the old Lucasfilm and Sierra On-line classics of the 80s and 90s?
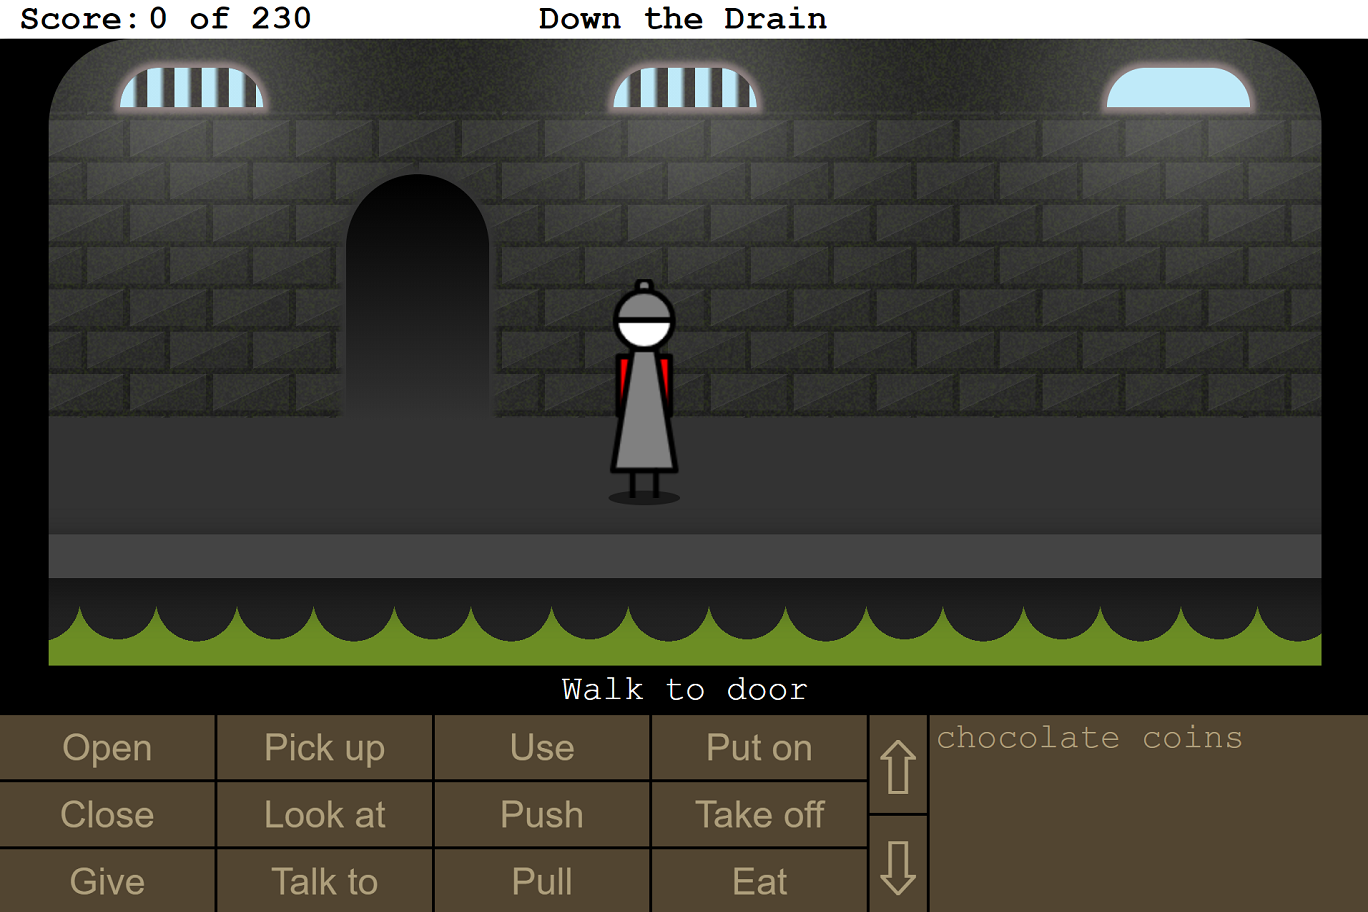
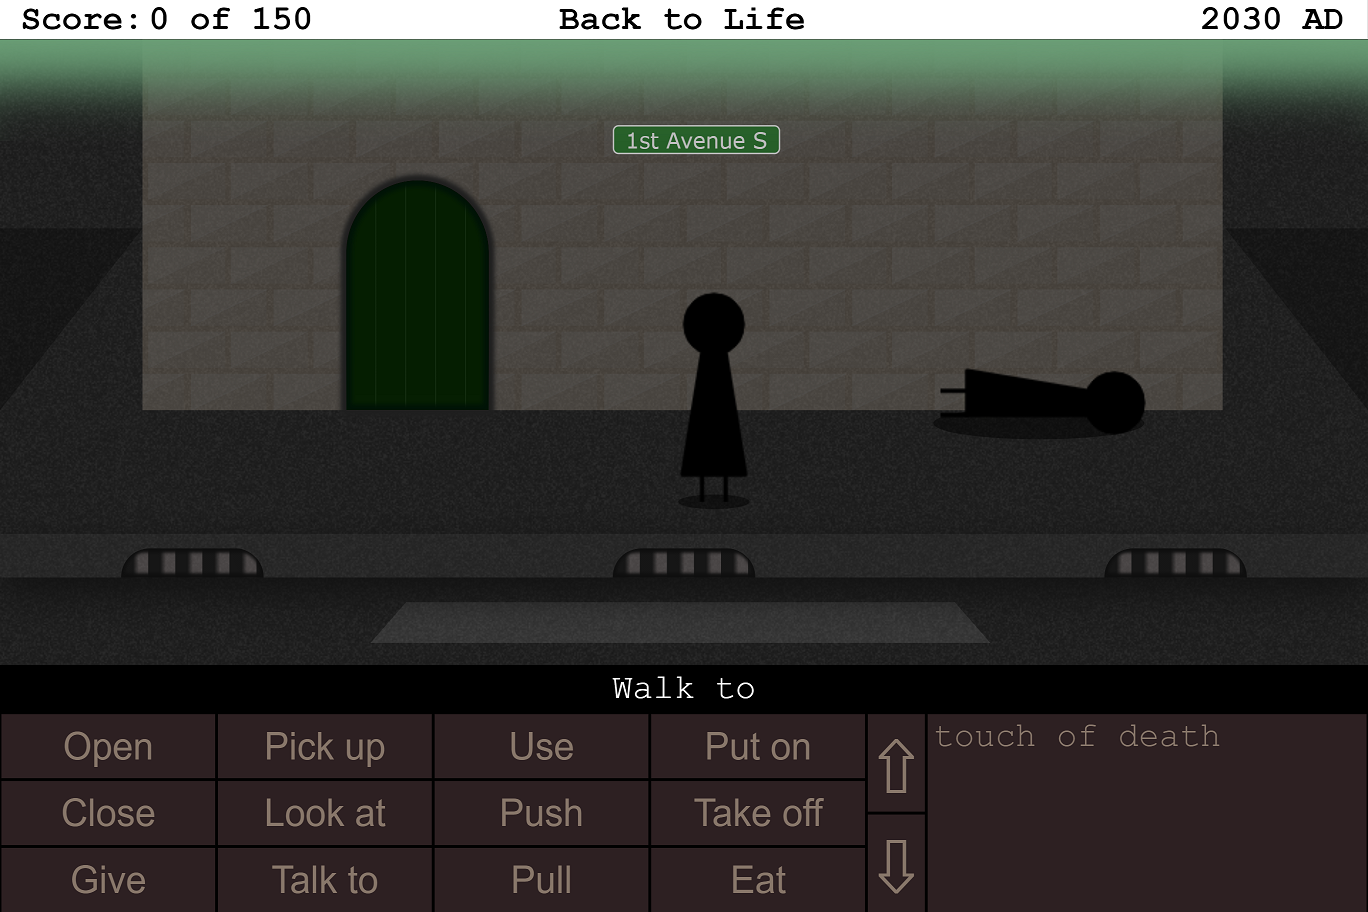
My first two attempts (shown above) fell a little short of my vision, mainly because I ran out of time before I ran out of space. One thing became obvious through those attempts though, that if I wanted to add lots of rooms, they’d all end up looking nearly the same. Creating distinct looking scenes took up valuable bytes.
Emojis as an art asset
Earlier this year a solution to creating more distinct looking scenes occurred to me. I had seen games in previous years of the js13kgames contest that had used emoji characters. Looking through the full set of emojis, I could see lots of different buildings, a few different trees, people, animals, and items. Could this be the way to create a more interesting graphic adventure game?
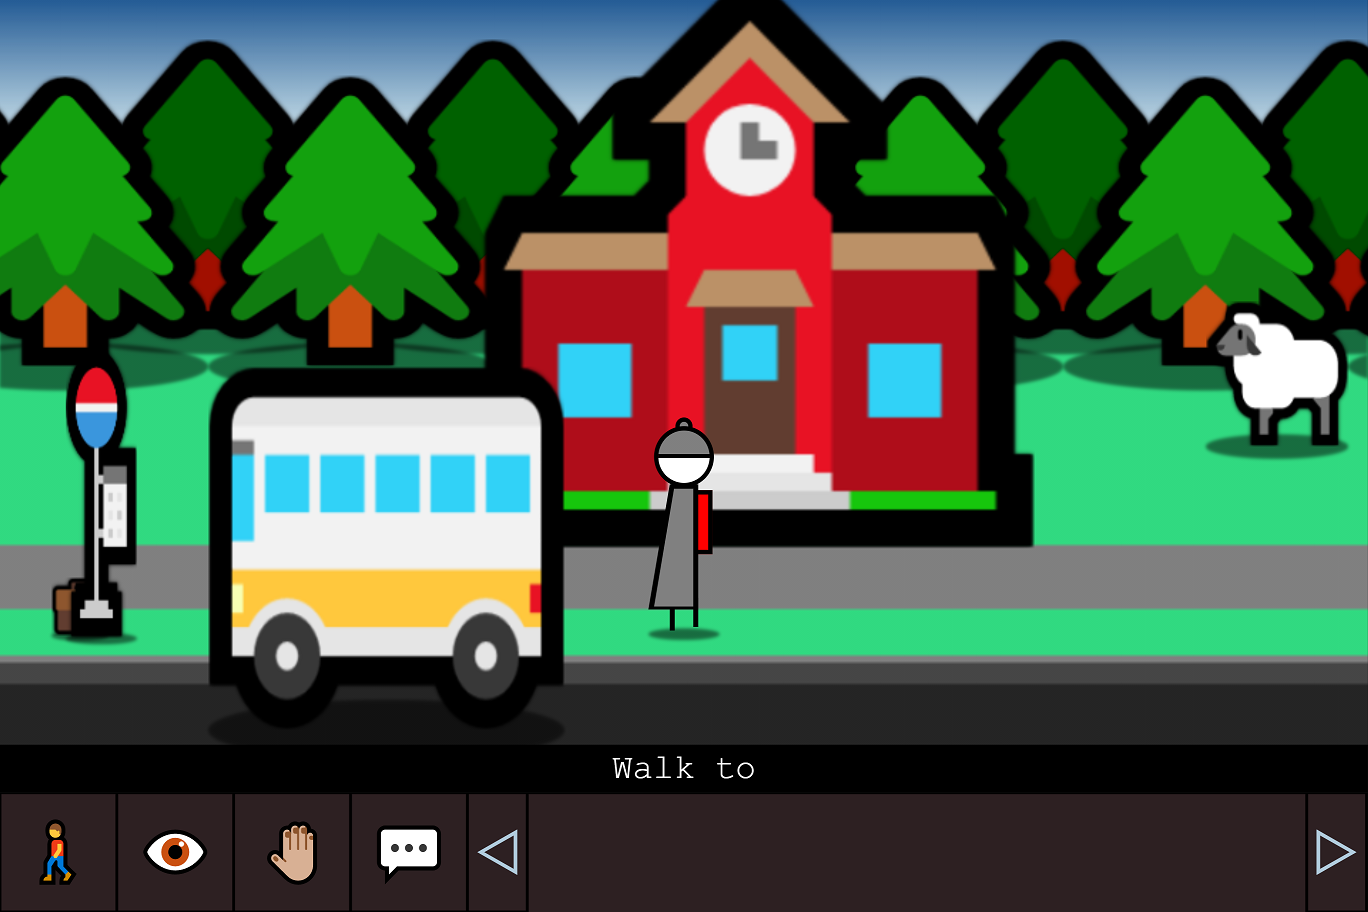
The main problem appeared to be how they are rendered on Windows 10. As shown in the image above, emojis on Windows are rendered with a relatively thick black outline. The bigger you draw the emoji, the thicker the black outline becomes. Buildings, vehicles and trees all have ugly outlines that look out of place.
Removing the black outline
Emojis are unicode characters rendered using a particular font. The Windows emoji font is called “Segoe UI Emoji”. It isn’t possible to style that font to remove the thick black outline, because its part of the graphics that make up the colour glyph of the character.
I spent some time playing around on codepen.io to see if could draw an emoji to an HTML canvas and then manipulate the pixels to remove the black outline. The idea I came up with was to apply a pixel fill algorithm starting at an area of the canvas outside of where the emoji is and then customising the fill algorithm to detect pixels that look like they are part of the black outline and to then remove them.
The following Pen shows the final code that I arrived at. You’ll need to view this on a Windows machine to appreciate what it is doing:
See the Pen Emoji on Canvas by Lance Ewing (@lance_ewing) on CodePen.
Why use a fill algorithm? This is mainly so that areas of black inside the emoji are not also removed. It is only the black around the edge of the emoji that we’re interested in removing. So the fill floods in towards the edges of the emoji and then stops when it gets to the other side of the black outline.
Detecting the black outline
There is a bit more to it than what I described above. We might naively think that the whole of the black outline is pure black, by which I mean an RGB value of 0,0,0. Due to antialiasing with both the area outside the emoji, and the area within the emoji, the outline takes on various subtle shades and tints. This is what makes the outline look smooth when rendered, but it is a pain to try to remove.
The following code does a reasonable job:
// Get the RGBA values for the pixel at the current position.
let [red, green, blue, alpha] = imgData.data.slice(pos, pos + 4);

// Calculate the perceived brightness of the pixel.
let brightness = Math.round(Math.sqrt(
    (red * red * 0.299) +
    (green * green * 0.587) +
    (blue * blue * 0.114)
));

let spread = false;
if (alpha == 0) {
    // If the pixel is fully transparent, then let flood fill spread.
    spread = true;
}
else if ((red == 0) && (green == 0) && (blue == 0)) {
    // If the pixel is pure black, then let flood fill spread, and
    // make pixel fully transparent.
    imgData.data[pos + 3] = 0;
    spread = true;
}
else if (brightness < 70) {
    // If the RGB value of the pixel is below a certain perceived
    // brightness level, then adjust the alpha channel to match
    // and let the flood fill spread.
    imgData.data[pos + 3] = Math.round(brightness * (255 / 70));
    spread = true;
}
The first case, where the alpha channel is zero, is simply the fill flooding into the transparent background parts of the canvas. The second case, where RGB are all zero, is where the pixel is pure black and therefore deemed to be part of the black outline, and so the fill floods into that pixel and it is set to transparent.
If we stopped there, and didn’t have the third case, then the resulting image would have a jagged edge (see tree on the left in the image below):
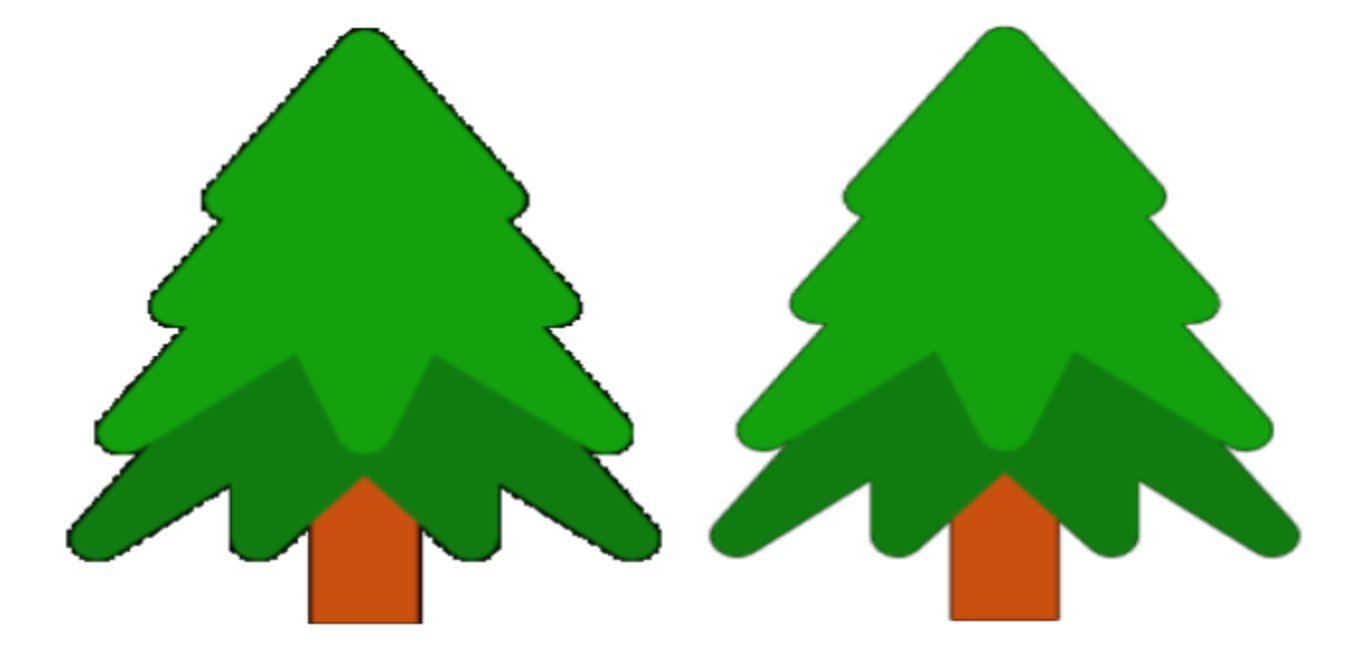
To avoid this, the third case takes advantage of the existing antialiasing between the inside edge of the black outline and the colourful interior of the emoji. It detects this by calculating the perceived brightness of the pixel, and then if it is below a certain threshold, it adjusts the alpha channel of the pixel to match the brightness. This has the effect of making the edge of the emoji look smooth after removing the black outline.
The threshold of 70 was determined by trial and error after testing the code with various Windows emojis.
Resizing after removal
If an emoji is drawn at a large font size, let’s say 300px, then removing the thick black outline results in an image noticeably smaller than the originally desired size.
Consider also that in order to allow the flood fill to spread the whole way around the emoji, the initial canvas size is deliberately made higher and wider than the desired height and width. Not too much though, otherwise time would be wasted filling into areas that are not needed.
As a consequence of the two factors mentioned above, after the black outline is removed there is quite a noticeable empty area beyond the four edges of the emoji that needs to be trimmed off. The canvas needs to be cropped so that its width and height exactly fits the emoji.

With this in mind, the fill algorithm also keeps track of where the four visible edges of the emoji are as it is spreading around the emoji:
if (imgData.data[pos + 3]) {
    if (x < minX) minX = x;
    if (x > maxX) maxX = x;
    if (y < minY) minY = y;
    if (y > maxY) maxY = y;
}
In the outline detection code shown earlier in the article, imgData.data[pos + 3] represented the alpha channel of the current pixel. Setting it to 0 makes it fully transparent. If after processing the current pixel it is determined to not be fully transparent, then it makes up a visible part of the emoji and therefore the current max and min X and Y values are updated. After processing the whole image, the minX, minY, maxX and maxY values give the left, top, right and bottom visible edges.
Simply cropping the canvas to this size is not enough though. The game requires an emoji to be displayed at a given width and height. So in addition to cropping, the canvas is resized in both directions:
// Redraw the canvas, so that we can remove white space and add a shadow.
let emojiCanvas = document.createElement('canvas');
let newWidth = ((maxX - minX) + 3);
let newHeight = ((maxY - minY) + 3);
emojiCanvas.width = width;
emojiCanvas.height = height;
let emojiCtx = emojiCanvas.getContext('2d');
if (newWidth > 0 && newHeight > 0) {
    emojiCtx.shadowColor = "black";
    emojiCtx.shadowBlur = 3;
    if (flip) {
        emojiCtx.translate(width, 0);
        emojiCtx.scale(-1, 1);
    }
    emojiCtx.drawImage(
        canvas,
        minX-1, minY-1, newWidth, newHeight,
        0, 0, width, height,
    );
}
In the code above, the canvas variable is the original canvas that was manipulated to remove the black outline. The emojiCanvas is the new canvas that is set to the desired size of the emoji. The detected visible edges of the emoji on the original canvas are then used to specific what part to draw to the new emojiCanvas, which is resized in each direction to the desired size, and we’ve thrown in a flip variable in case we want the emoji to face the other direction.
Note that we also have a small shadow blur. This isn’t required, but it does give it a slightly smoother and more defined edge.
Performance
There is certainly an overhead in performing this kind of image manipulation, so we need to keep it to a minimum. Sometimes the same emoji needs to be drawn many times in the same scene, such as a background of many trees of the same type and size. To address this, the game caches the image data for a given emoji and size, so that if the same combination is encountered again, in any scene, it uses the cached image data instead of performing the same image manipulation.
The end result
Removing the black outline from the Windows emojis in this way allows more attractive scenes to be created. If we render the same scene shown earlier in this post using the described approach, then the end result is as follows:
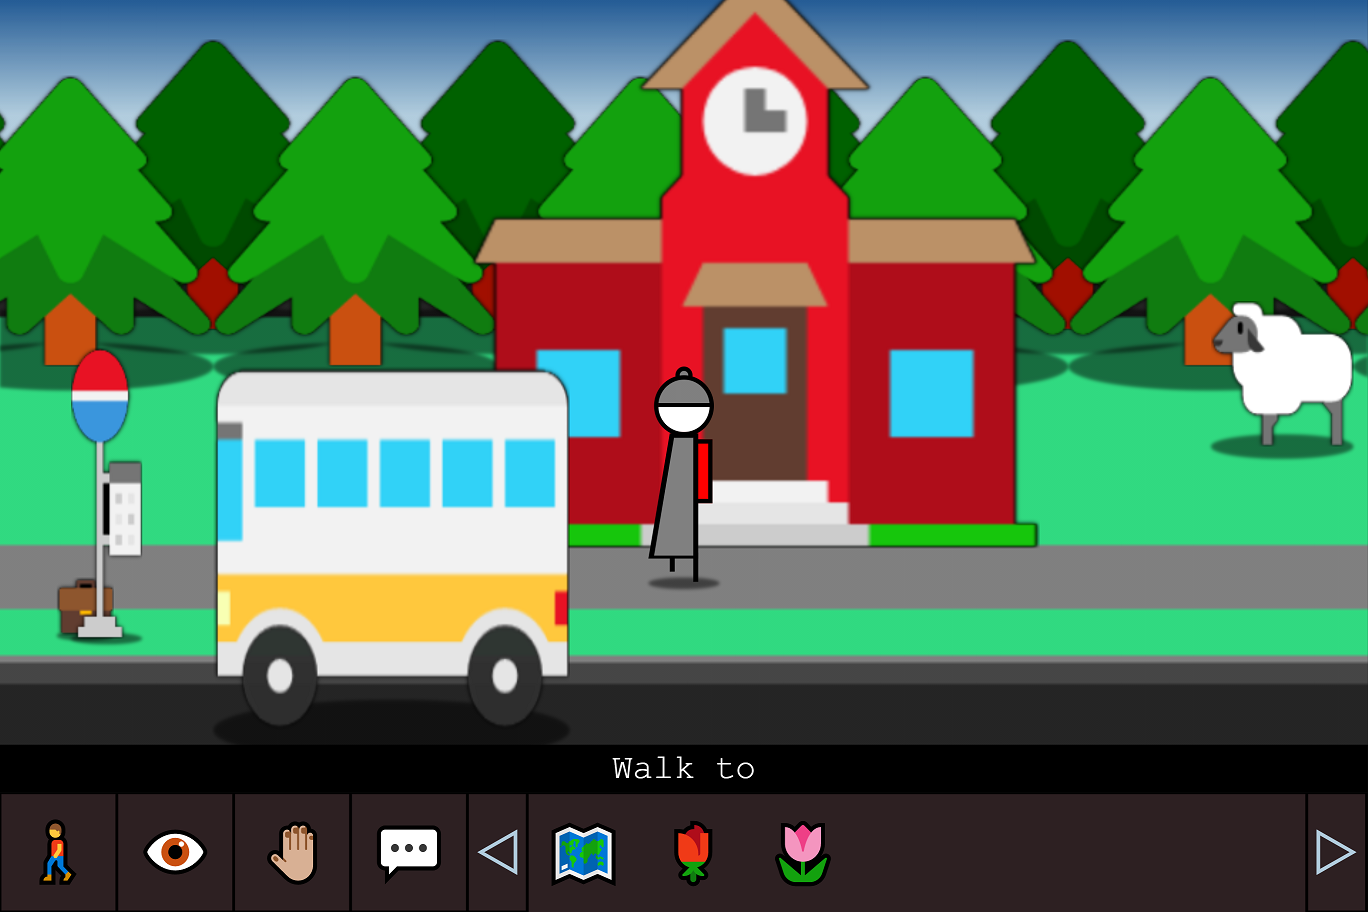
That’s much nicer!
Obviously this rendering technique is only of concern on a Windows machine, but it’s likely that many of the participants in the js13kgames contest are using Windows and will see the game like this, and since the participants are the voters, it is an important consideration.
Windows isn’t the only operating system that I had to cater for in choosing to use emojis. The topic of the next post in this series looks at some of the things I discovered about emoji fonts in relation to cross platform and browser compatibility.